23 Jul My Mobile Workspace: Explained (ENG)
What is a Mobile Workspace?
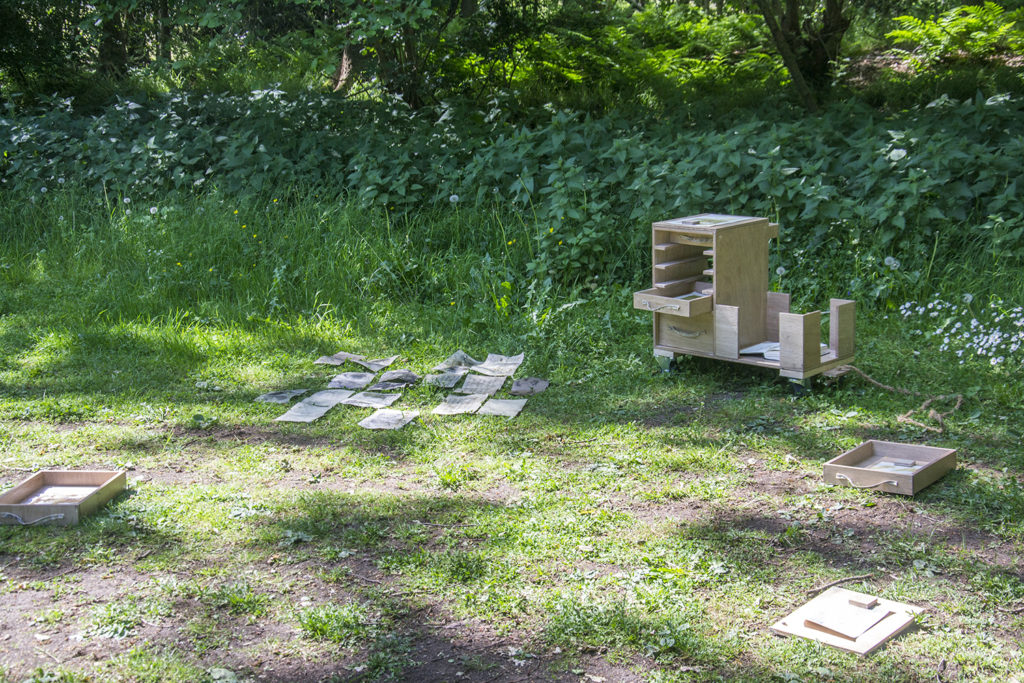
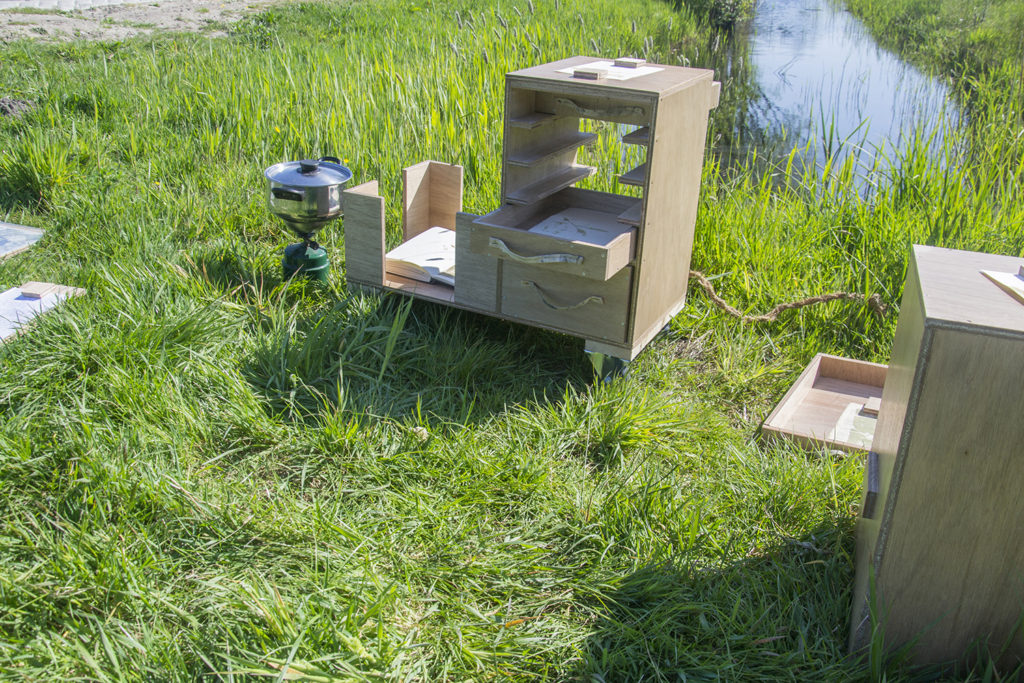
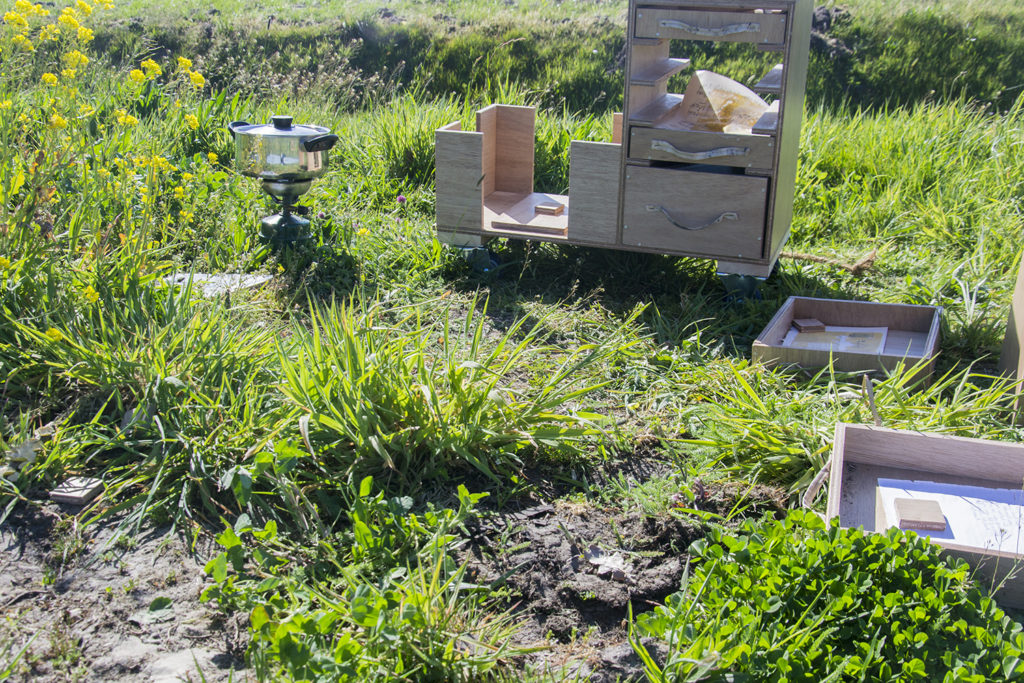
So I wanted to create a Mobile Workspace, to take with me on walks so I could create art outside. It’s a cart, on wheels, to take with me outside. I can put it in my car, drive around, and take it out when I see a place where I would like to create art. I designed it so I could fit all the artist supplies I need in there.
How did I came up with the idea?
For my art project ‘Sense of Place’ I went outside a lot. I walked around, trying to capture my surroundings. I then went inside to create art. Turned up the radio, got into the flow, looked through the windows a lot. So I thought it would be a better fit if I also could create art outside! That way I hoped not to get lost in my head, but instead be present.
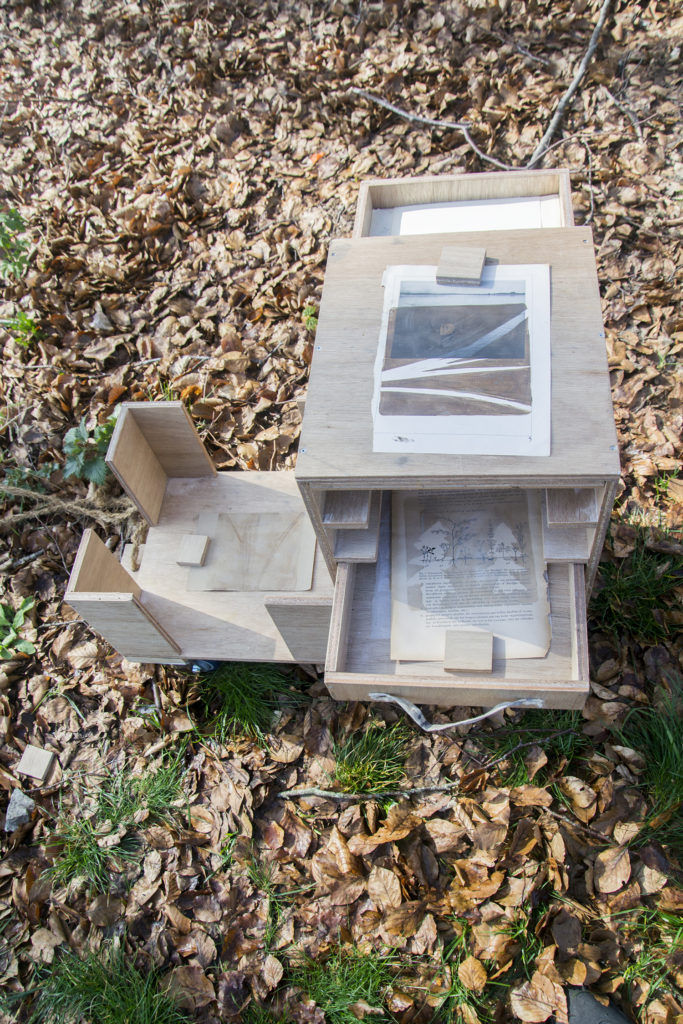
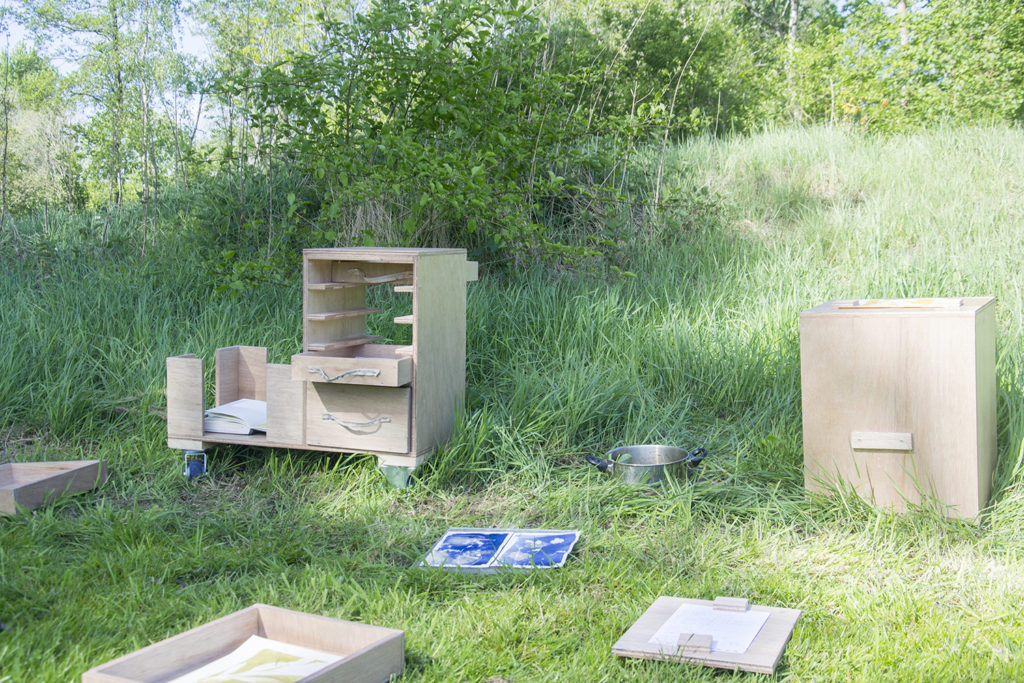
At the end of the day, when I created everything I wanted to create, I turn the Mobile Workspace into an exhibition space. The drawes become floor elements and my stool becomes a padestal. It’s a temporary exhibition, much like how nature is impermanent.
How did I build it?
The first step was to decide what I wanted to take with me, in order to come up with a design. I have a few techniques I return to when I go to a location. So I wanted to fit the supplies I use for those techniques in there.
The second step was measuring how big it could be so it could fit in my car perfectly. The height, depth and length.
Then I drew a 3D shape in that size. I divided it in half: one side with drawers, one side with a big box to put bigger stuff in. The box I could then use as a stool for me to sit on while creating.
As step four I taped down the size of the drawers on a flat surface, put my materials in there and dicided how much drawers I needed and how high they all should be. Three drawers: for brushes and relatively flat items, one not that high: for all kinds of papers, one very high: for jars and other stuff that’s a bit high. That wat I could fit almost all materials per technique in a drawer. If that makes sense? Let me show some pictures!

Ather the design was ready, all the measurements were there I went to the construction market, bought wood and let them saw the pieces for me. I know I would never get it as straight as they did for me!
Ather that I went to my grandfather and he helped me put it all together. Again, if I would do it on my own it would never be as straight and neat as it turned out now (I’m too messy for neat and straight) . Besides that, I liked to create something with my grandfather. It was a special experience to do with him.
What art supplies go in there?
All the supplies I need can fit in there. I use them to create art with. In the end, when the creating is done, I turn it all into an exhibition, read below to find out what I need for all this. I try to fit all supplies for one technique in one drawer, but it’s not always possible.
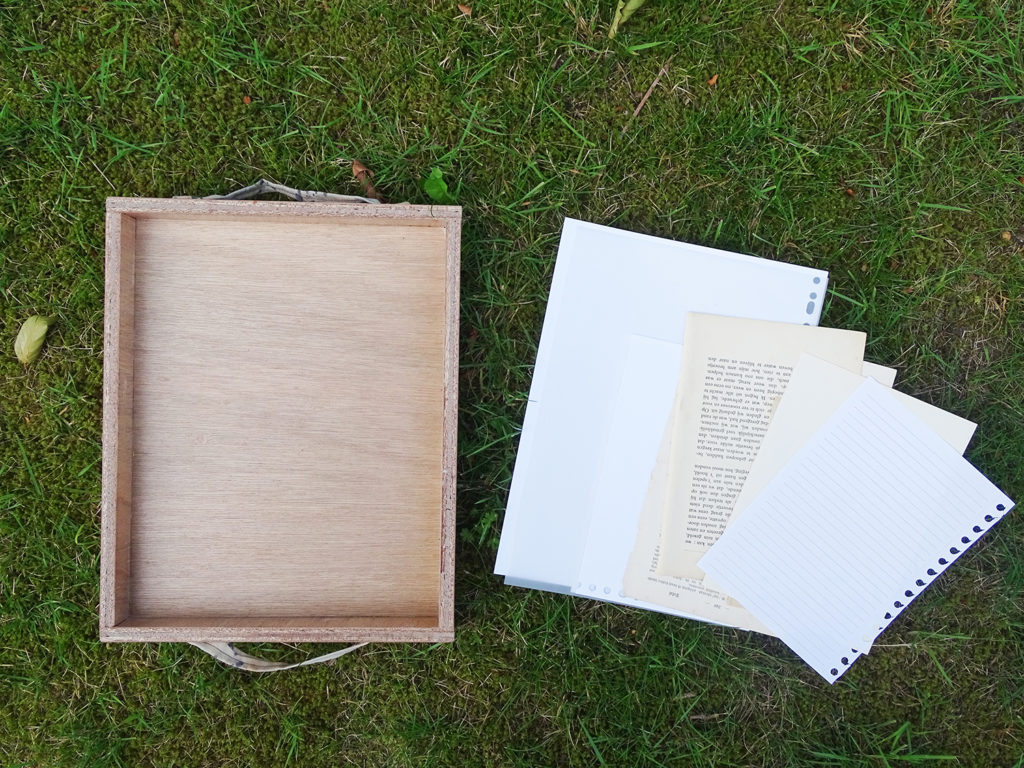
First drawer
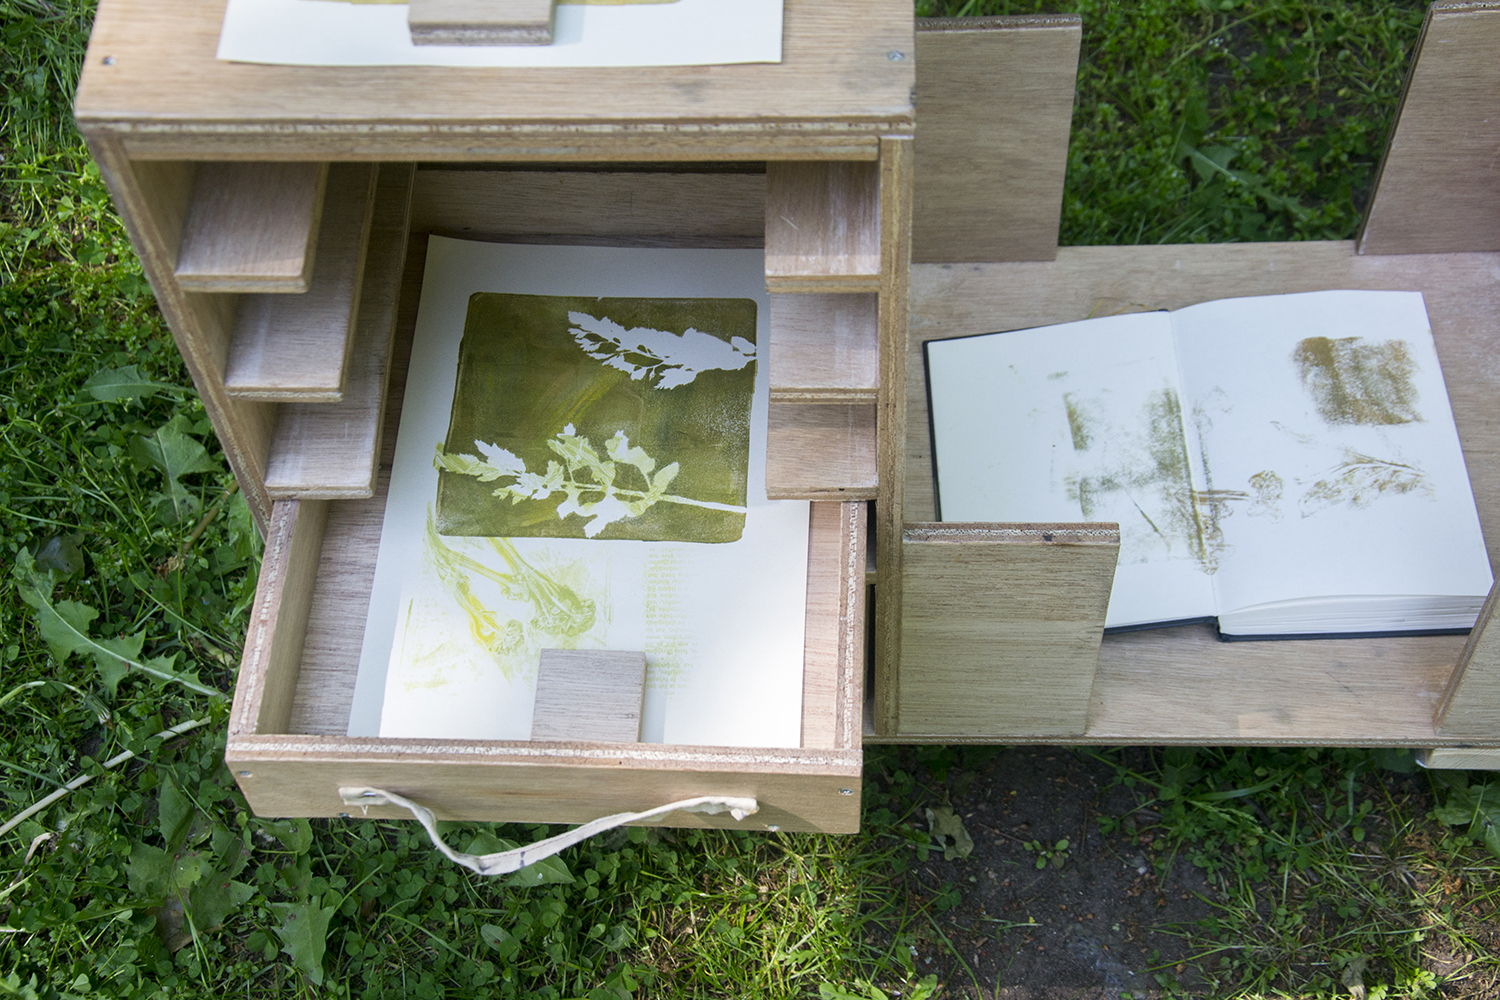
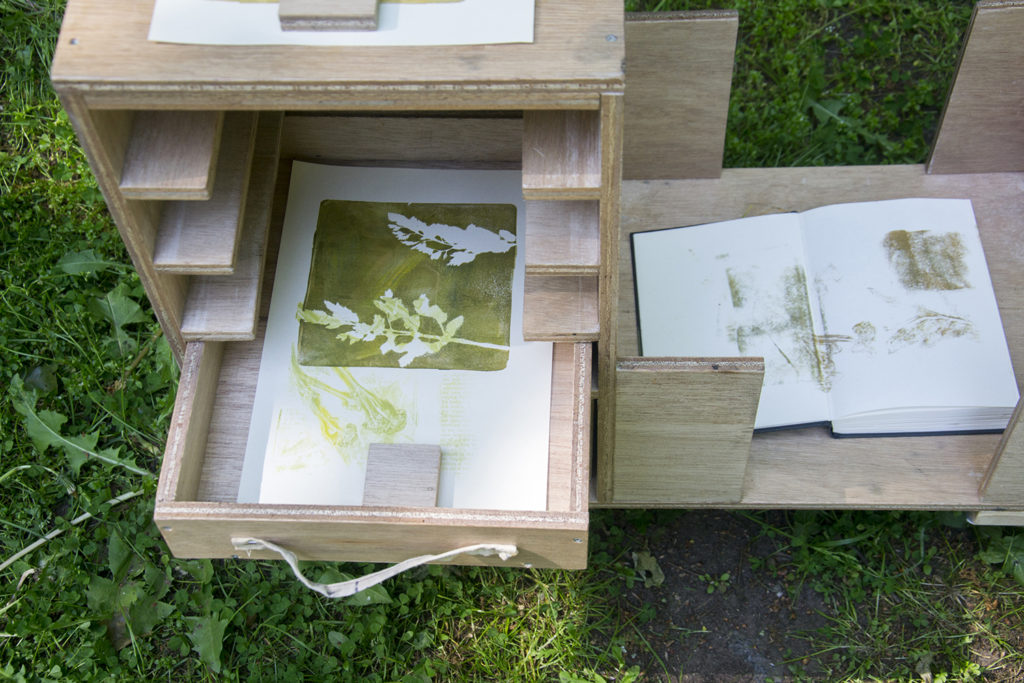
What’s in there: different papers to use for my monoprinting (big and small, heavy and not heavy, blank and with images or writing… I like to repurpose older papers/books) and some lined papers for writing.
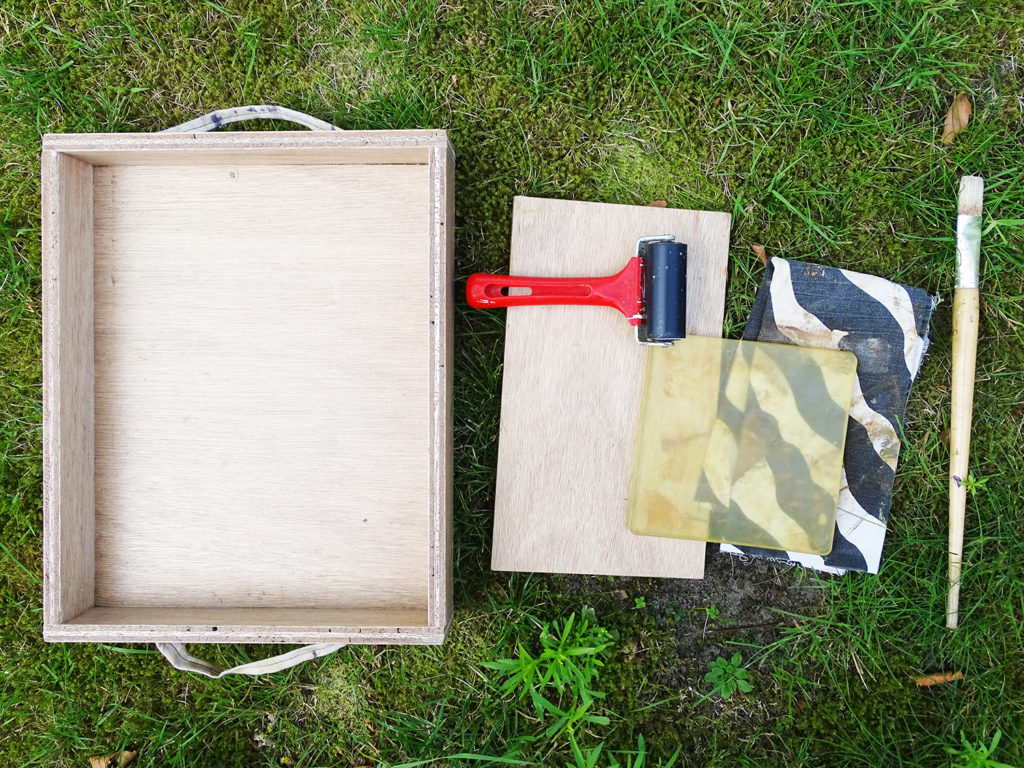
Second drawer
What’s in there: All things monoprinting. A gelli plate, a brush, a brayer, a piece of fabric to wrap it all in so it won’t dry out untill I can clean the paint off when I get home and a piece of wood to prevent the plate from slipping.
Third drawer
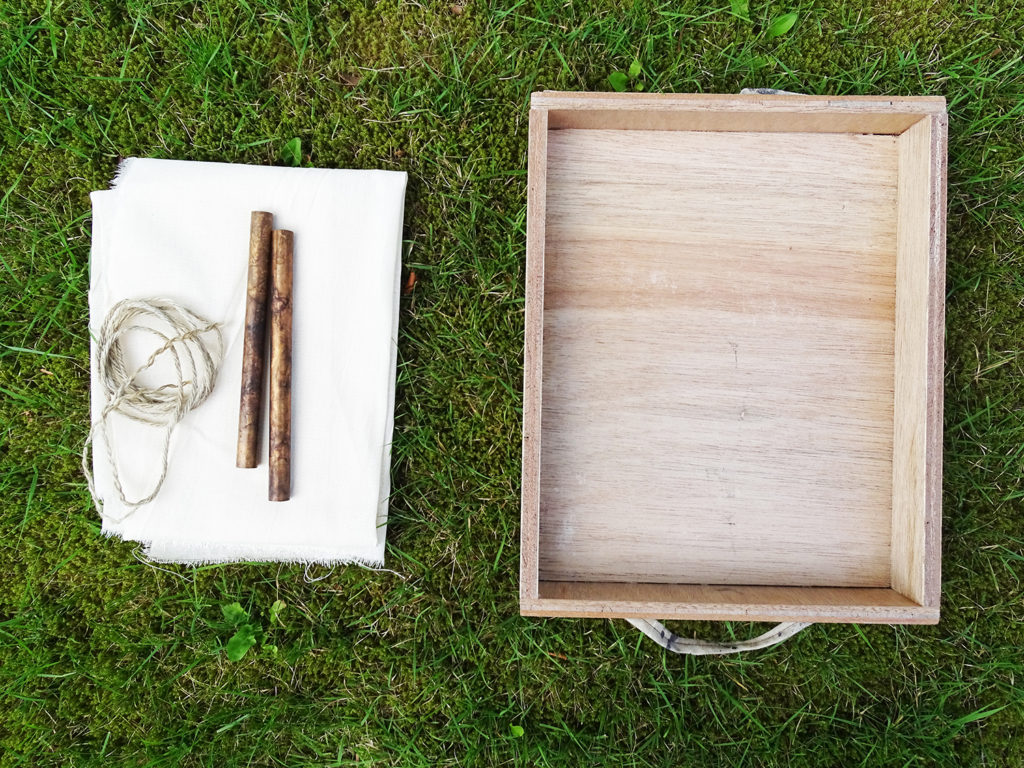
What’s in there: All things eco-printing. A piece of fabric to print on, a few copper pipes to wrap it around and some jarn to tie it all together.
Fourth drawer
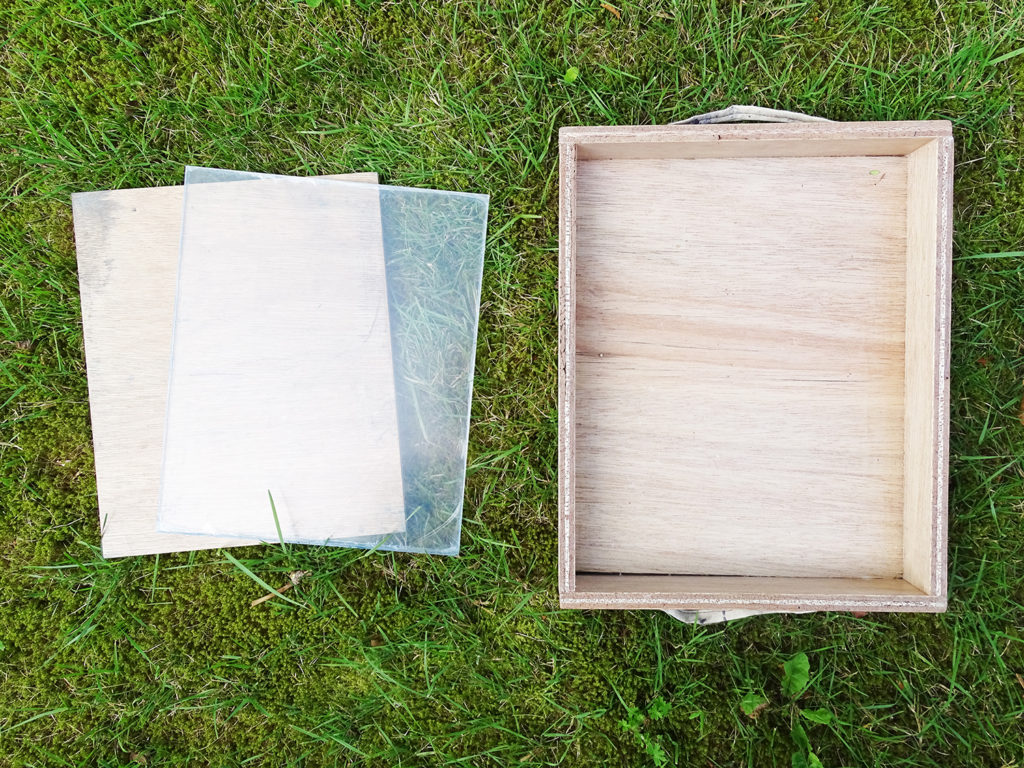
What’s in there: All things cyanotype printing. Some paper pre-treated with a light sensitive emulsion (not in this picture beacause, well, it’s light sensitive), wooden surface and perspex surface to flatten the plants but let the light shine through.
Fifth drawer
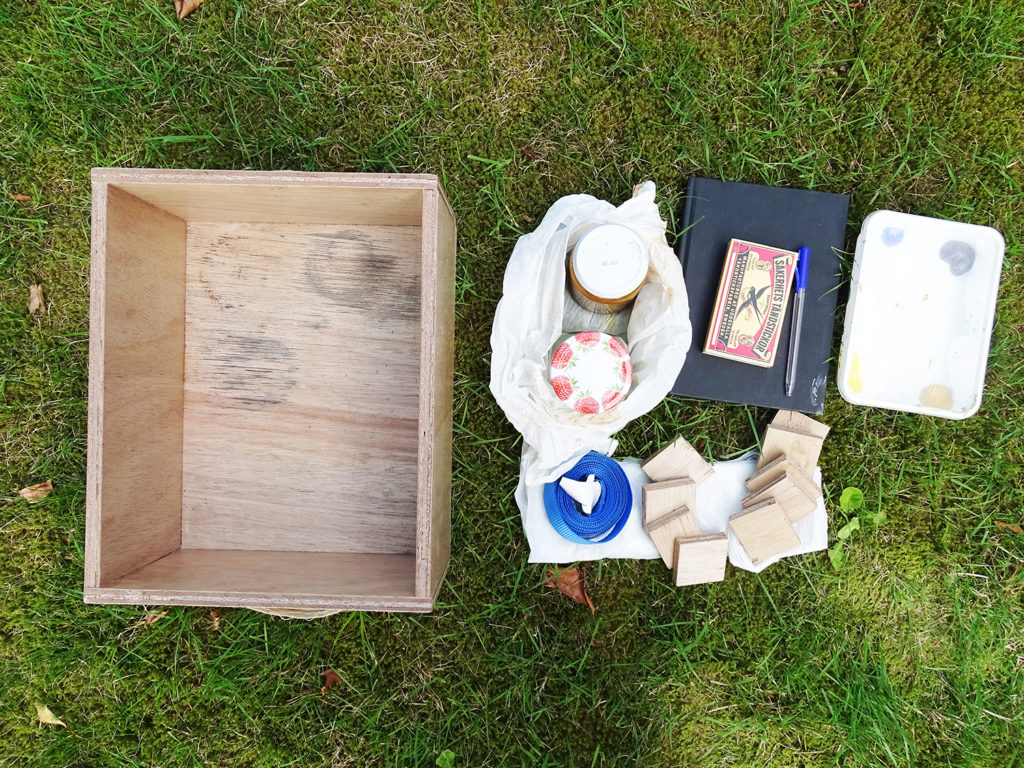
What’s in there: Almost everything else basically. Some wooden blocks to serve as paperweights, a pen, matches to light the gas, my art journal and a blue strap to tie around my cart to prevent the drawers to fall out when moving around.
For cyanotype: jar with water and soap.
For eco-printing: a bag to collect flowers and leaves, a jar with iron mordant
For monotype prints: a box with paints
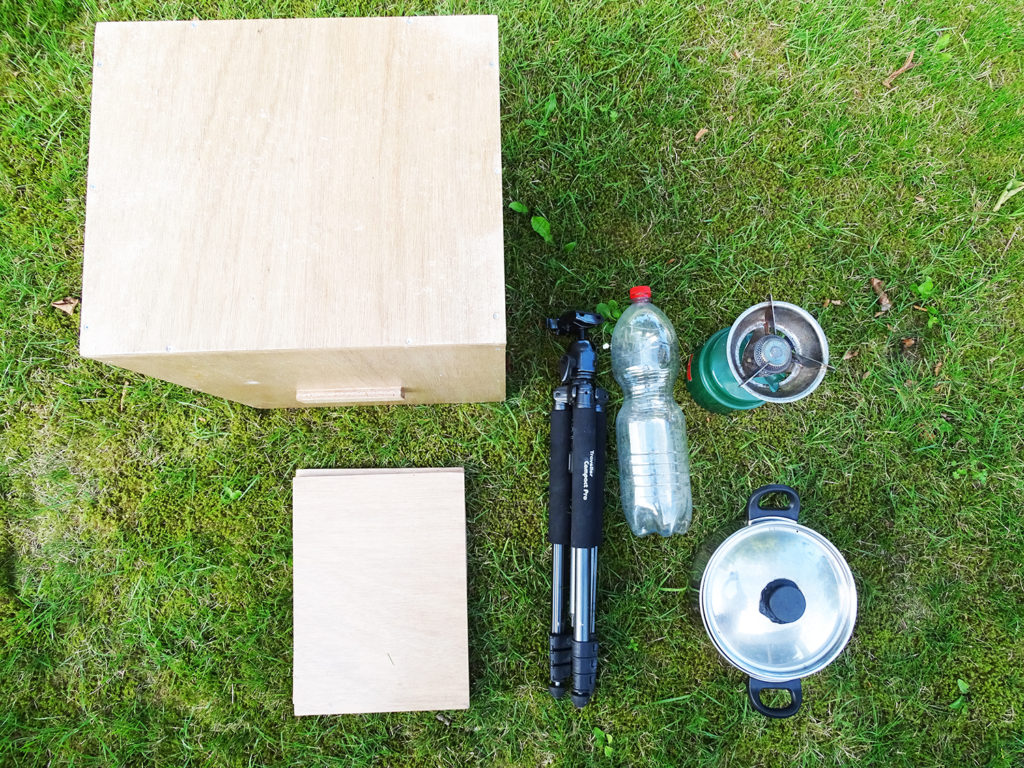
The big box
What’s in there: A pan, bottle of water, gas, wooden screen so the wind won’t blow out the flame and not to forget; my tripod to help document my process.
Seperate backpack
What’s in there: an SLR camera, a polaroid camera and a digital camera.
Exhibition
What’s changeing: my stool becomes a pedestal, the drawers become floor pieces, the supplies I use can fit in the biggest drawer in the cart so everything looks nice and clean.
How easy is it to take with me?
The most difficult about it is to lift it in and out of my car. It’s quite heavy, but I can always lift in on my own.
The cart has wheels, so when it’s out of the car I can easily steer it in the right direction. It works best on solid concrete or grass. The wheels don’t like sand and cobblestones.
I use some very strong yarn to pull the whole thing. I thought that would be more convenient because if I would push it, the wheels might get stuck in the grass or sand.
Thanks for reading along!
Thank you for reading with me! I hope you got a little more insight as in how and why I created this thing you see over at my instagram once in a while! I hope you enjoyed. If you have any questions or comments, please let me know! I’d love to hear from you and talk about art.